
Chicken biryani step by step is the one meal that makes the whole house smell like a real family gathering. Many people get scared of the layers, but you do not need royal kitchen training to get every grain right. You just need the right pot, the right heat, and the courage to stop stirring once the rice goes in.
The secret is simple. Cook your chicken masala until the oil separates completely, boil aged basmati rice until it has just one hard bite left inside, and seal the pot tight on low steam. Do that, and you will get soft chicken, fragrant long rice, and that deep red gravy at the bottom every single time.
What Goes Into the Real Home Masala
Do not buy the boxed spice packets when you want real flavor. They are mostly salt and red chili dust. In our home kitchen, we build the base with fresh whole spices and cool yogurt. You can taste the difference before the pot even hits the stove.
Here is what you need for one kilogram of chicken, cut into 12 curry pieces:
- One kilogram chicken with bone
- 750 grams aged basmati rice, soaked for 40 minutes
- Three large red onions, sliced paper thin
- Four medium red tomatoes, chopped fine
- One cup sour yogurt, beaten smooth
- Two tablespoons ginger paste and two tablespoons garlic paste
- Three green chilies, slit down the middle
- Whole spices: two black cardamoms, six green cardamoms, five cloves, two small cinnamon sticks, two bay leaves, and one teaspoon black cumin seeds
- Powder spices: two teaspoons Kashmiri red chili powder, one teaspoon regular red chili powder, one teaspoon turmeric powder, two teaspoons coriander powder, and one teaspoon garam masala
- Two teaspoons salt for the chicken, and three tablespoons salt for the rice water
- Half a cup fresh mint leaves and half a cup fresh green coriander
- Three quarters cup cooking oil or pure ghee
- A pinch of saffron soaked in four tablespoons warm milk
Every home across Pakistani cuisine has a small twist on this spice blend. Some people add dried plums for a sour bite. Others like extra green chilies. Stick to these exact amounts for your first run, and you will get a balanced plate that pleases both kids and grandparents.
How Do You Make Chicken Biryani Step by Step?
Start with the fried onions, because good fried onions give biryani its soul. Heat your oil in a wide, heavy pot over medium heat. Drop in your sliced onions. Stir them slowly so they brown evenly across the pan.
Take your time here. It usually takes around twelve to fourteen minutes. When the onions turn a warm golden honey color, scoop out one third of them onto a paper towel. They will crisp up as they cool. You will scatter these on top later during the final steam.
Now drop your chicken into that same hot onion oil. Turn the heat to high. Fry the meat for five minutes until the skin turns white and seals up tight. This keeps the juices inside so the meat does not dry out later.
Toss in your ginger paste, garlic paste, and all the whole spices. Fry them together for two minutes until the raw smell leaves the room. Your kitchen should smell warm and peppery right now.
Lower the heat a bit. Add your chopped tomatoes, salt, turmeric, coriander powder, and both chili powders. Cook this down until the tomatoes turn soft and turn into a thick paste. This takes about six minutes.
Now turn the flame to low before you add the yogurt. If the pot is too hot, yogurt splits and turns watery. Stir it in quickly. Cover the pot and let the chicken cook in its own steam for fifteen minutes. Do not add water. Chicken releases plenty of juice on its own. When you lift the lid, you should see red oil floating on top of a thick, bubbling gravy. Turn off the heat.
Boiling the Basmati Rice the Right Way
Rice makes or breaks this dish. If your rice turns to mush, no amount of good chicken can save the plate. You need long-grain basmati that is at least one or two years old. Freshly harvested rice gets sticky and breaks in half.
Wash your rice gently through four changes of water until the water runs clear. Soak it in cold water for forty minutes. If you are also making flatbread for guests who want gravy, you can check our guide for Soft Round Roti Every Time: The Secrets to Soft Toti while the rice sits.
Fill a large pot with at least four liters of water. Biryani rice needs a sea of water to swim freely without breaking. Add three tablespoons of salt. The water must taste salty like soup, or your rice will taste flat at the dinner table. Drop in one bay leaf, three green cardamoms, and one teaspoon of lemon juice. The lemon juice keeps the grains bright white and separate.
Bring that water to a rolling boil. Drain your soaked rice and slide it in. Keep the heat on high. Stand right by the stove with a slotted spoon. Do not walk away to check your phone.
Watch the clock. At the five-minute mark, fish out a few grains. Press one between your thumb and forefinger. It should feel soft on the outside, but you should feel a hard, firm thread in the middle. We call this seventy percent cooked. Turn off the flame immediately and dump the rice into a large colander. Let all the steam shoot out so it stops cooking right away.
Layering the Pot for the Dum Steam
Now comes the fun part. The magic of real Biryani happens during dum, which means slow cooking inside a sealed pot. Check that your chicken pot has a thick layer of rich gravy at the bottom. If it looks dry, add three tablespoons of warm water.
Leave half of the cooked chicken masala at the bottom of the pot. Spread half of the strained rice directly over it. Scatter half of your fresh chopped mint, green coriander, slit green chilies, and some of those crisp onions you saved earlier.
Spoon the rest of the chicken and gravy over this first layer. Add the rest of the rice on top. Smooth it out gently with the back of a spoon, but do not pack it down hard. Rice needs room to swell and let steam rise up through the grains.
Drizzle your saffron milk across the top in thin lines. Throw on the rest of the mint, coriander, and crispy onions. If you want extra shine and softness, drizzle one tablespoon of melted ghee over the rice right now.
Take a clean cotton kitchen towel and lay it over the open mouth of the pot. Place the heavy lid right on top of the towel. Fold the hanging edges of the towel up over the lid so they do not catch fire. This cloth catches the steam drops so they do not fall back down and make the top rice soggy.
Managing the Heat for Perfect Rice
Put a flat iron tawa or heavy pan on your largest burner over high heat. Place your sealed biryani pot directly on top of the tawa. Keep the flame high for five full minutes. This heats the iron pan and pushes strong heat into the bottom of your pot without burning the meat.
After five minutes, drop the flame down to the lowest setting your stove allows. Let the pot sit there undisturbed for twenty minutes. Do not peek. Do not lift the lid even once. Every time you open the lid, you dump the heat and stretch the cooking time.
After twenty minutes, turn off the flame. Leave the pot alone on the warm stove for ten more minutes. This rest period lets the steam settle back into the rice grains so they firm up. If you stir it while it is burning hot, the long grains will snap in half.
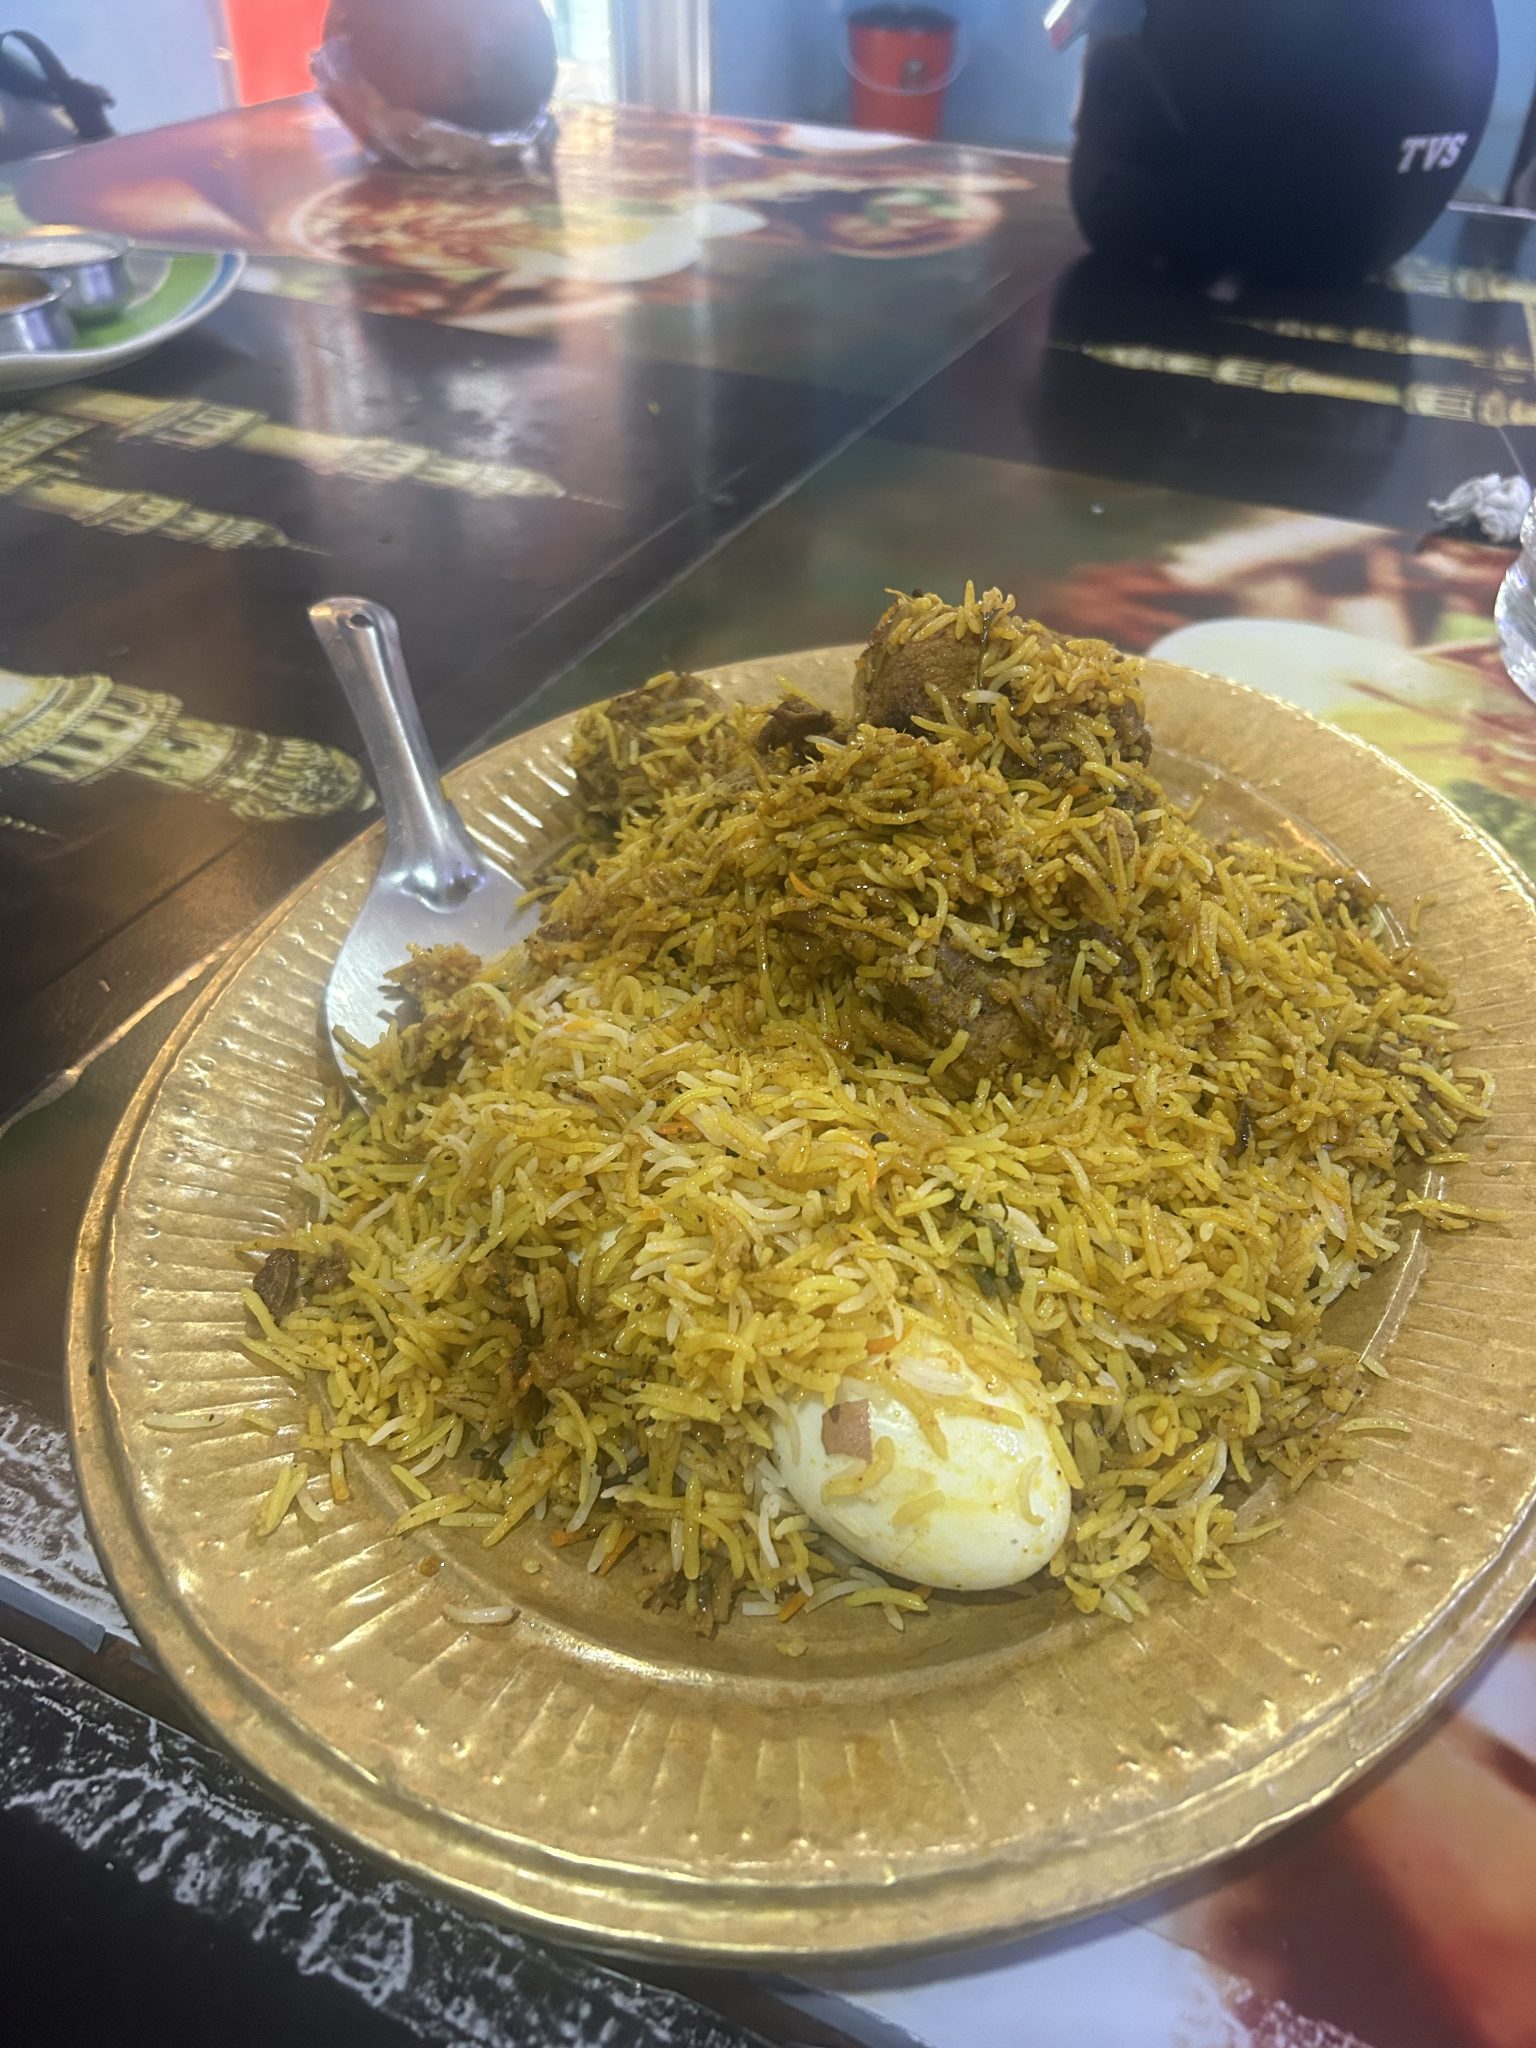
When you finally lift the lid, a cloud of warm cardamom and mint steam will fill the room. Use a flat rice paddle or a small saucer, not a big soup ladle. Dig deep into the side and lift upward from the bottom. You should see three distinct shades on your plate: bright white grains, pale yellow saffron rice, and deep orange masala rice, mixed with tender meat that falls away from the bone.
For more everyday family meals and time-tested recipes from our kitchen, explore our collection of traditional home cooking guides.
Serving It the Family Way
Biryani does not need heavy side dishes. A cold bowl of cucumber and cumin raita is all you need on the table. Cut red onions into thin rings, rinse them in ice cold water so they stay crunchy, and squeeze fresh lemon juice over them.
My mother always kept a bowl of plain yogurt beside the platter for anyone who wanted to cool the red spices down. Put the big platter right in the center of your table and let everyone serve themselves. Did your rice grains come out long and separate this time? Leave a comment below and tell me how your pot turned out.


0 Comments